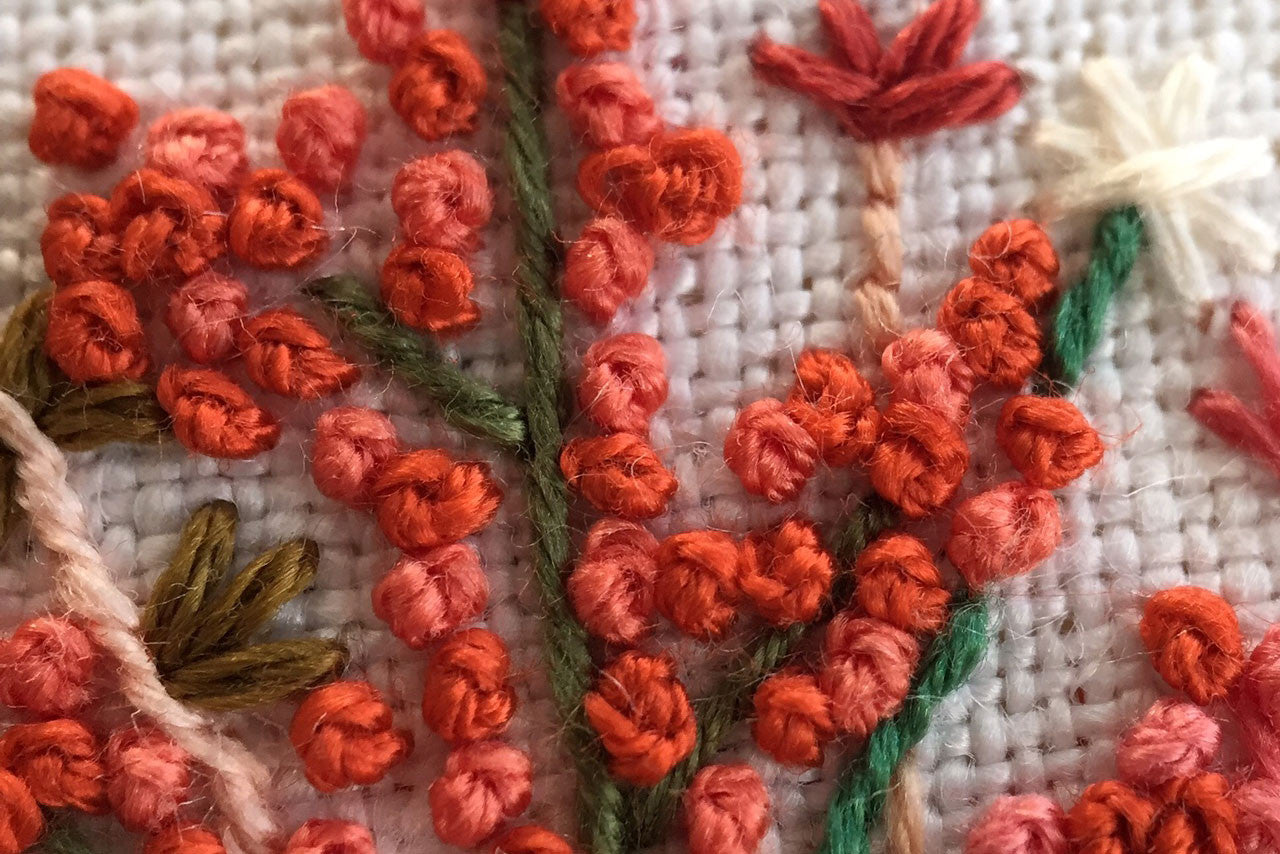
I've been playing around with this amazing new clip-on macro lens for my iPhone all week. It's been so fun to see all of my stitching details up close - up to ten 10 times closer than the regular lens.
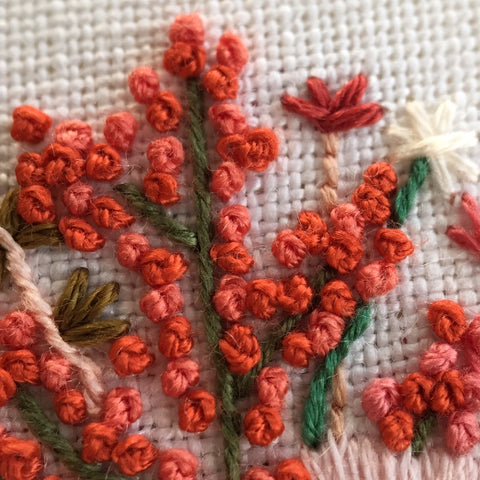
The lens is easy to use - I just clip it over my iPhone lens (I have to take off my case first) and I'm ready to go. It would be fun to experiment with taking photos of anything with a lot of texture. I'm excited to take it out on hikes with me, too, to capture flowers and leaves up close.


I thought it'd be fun to pull back the curtain a bit and share the steps it takes to launch a new collection of hand embroidery. I released a bunch of new work last week, including brand new pins and pillows. I'll share more about those new products and how they came to be in a future post, but for now wanted to write about releasing a new artwork collection in particular.
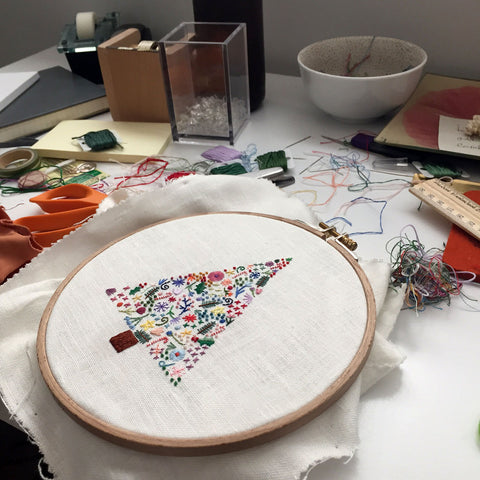
I spent a lot of the summer stitching away and creating new pieces (Happy Cactus is my full-time job), so I built up a stack of new embroidered works and kept them tucked away in a box. I released a handful of these new works just after Labor Day, knowing that I wanted to release another batch at the end of September.
Once I have a collection release date in mind (in this case, September 30), I create a few additional designs if I want to, develop a master spreadsheet of all of the pieces (with design notes, dimensions, price, etc.), and then begin preparing to frame the pieces.
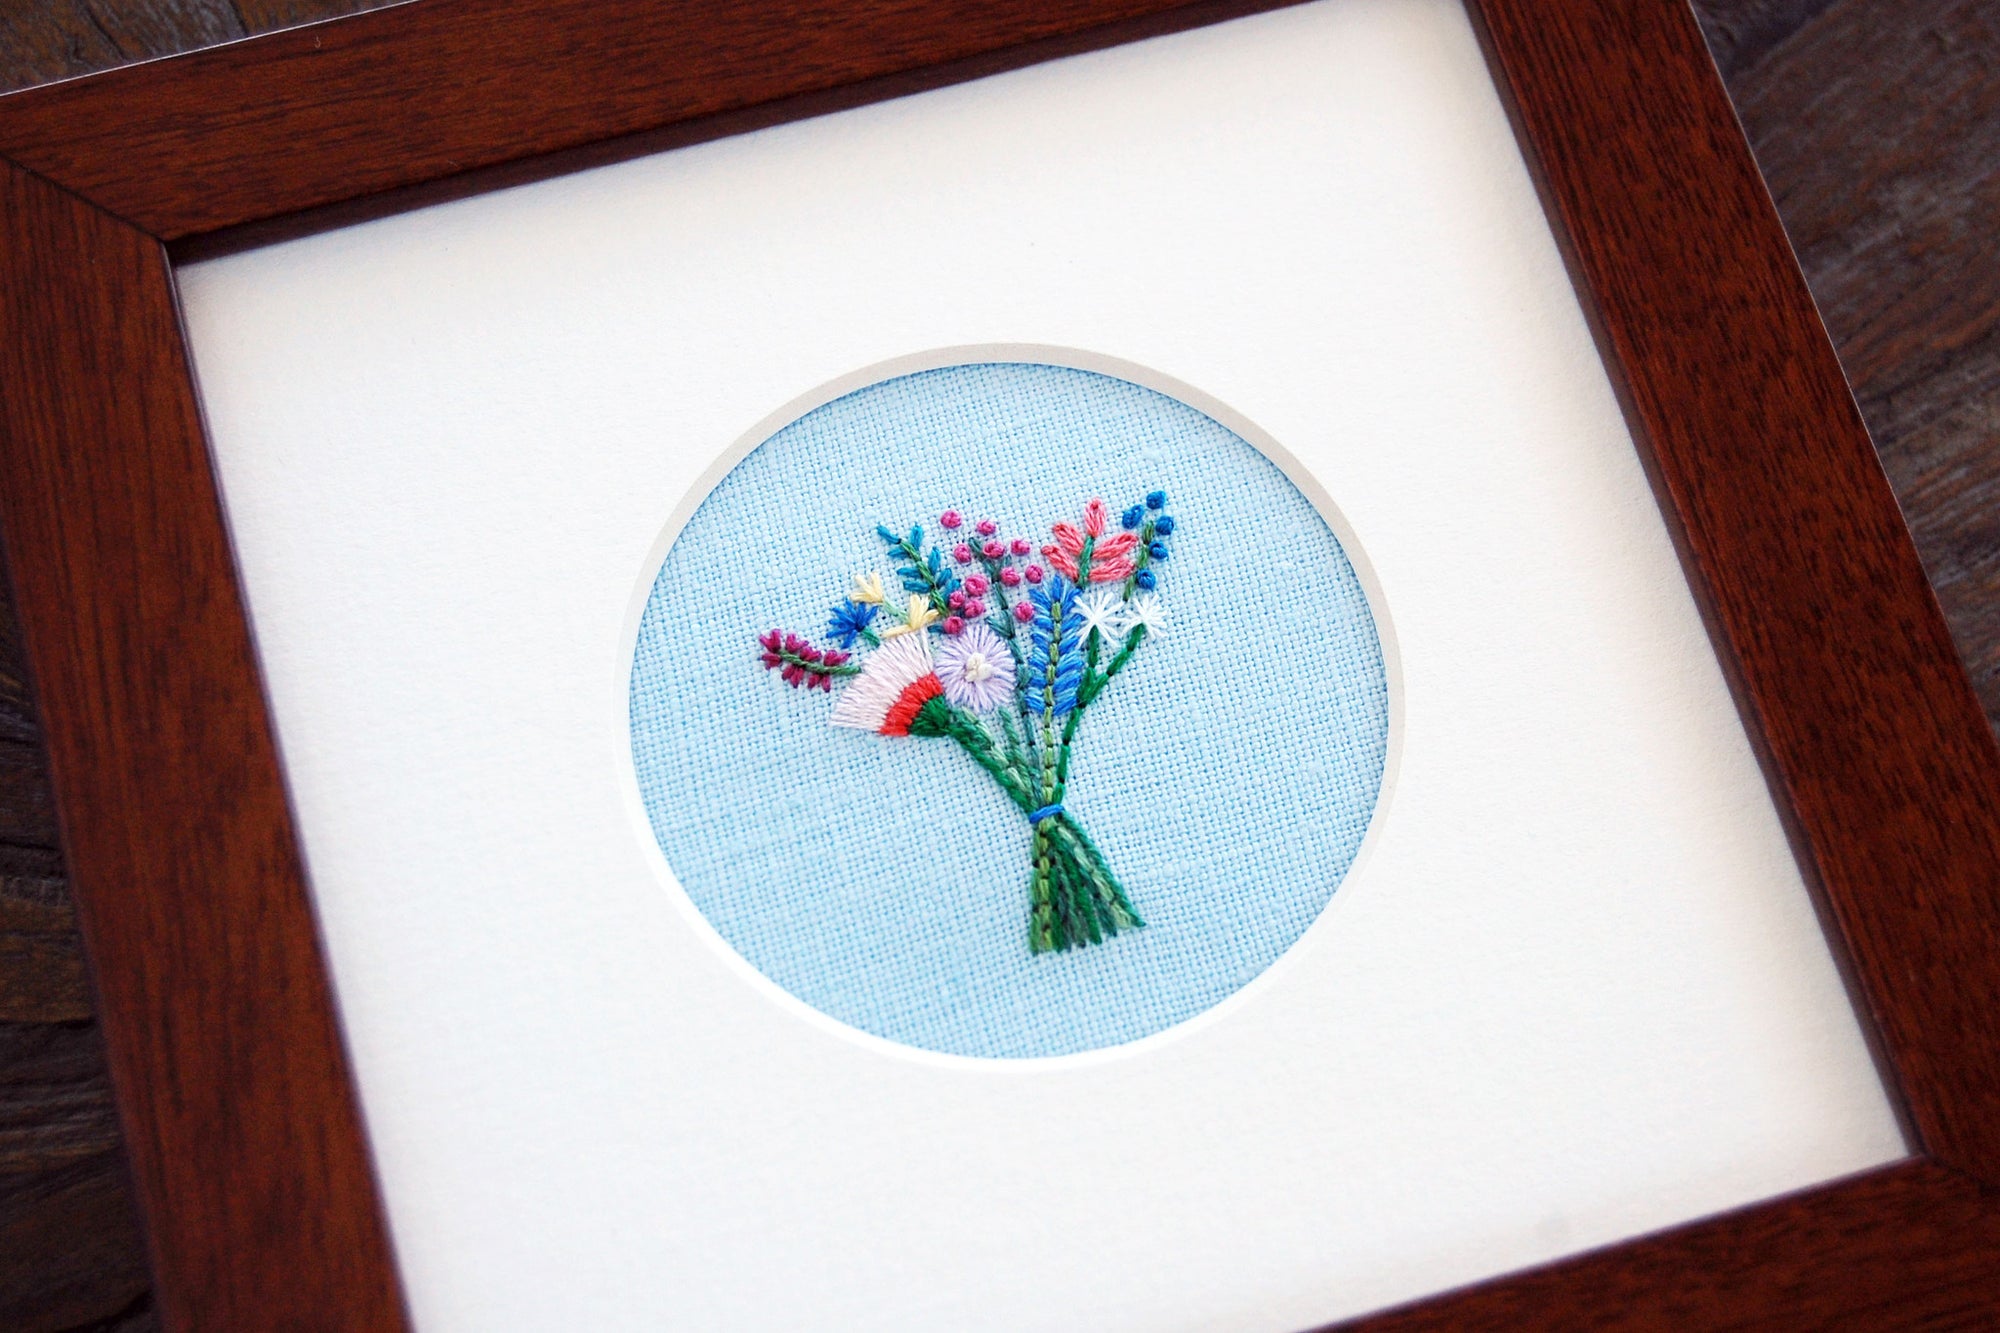
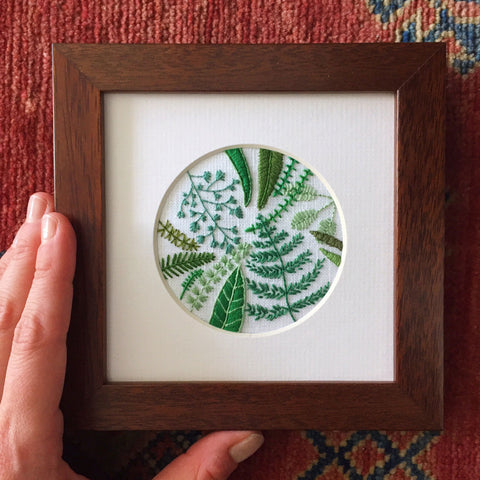
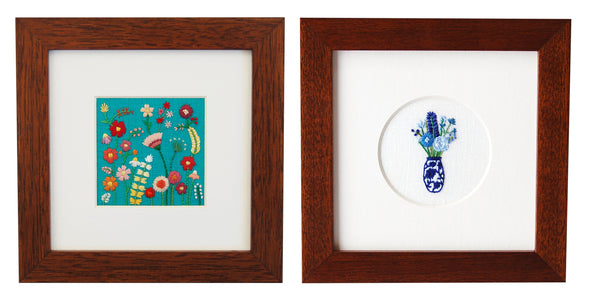
Framing is a time intensive process. First, I make sure that I have enough frames, mat boards, and related accessories (the hardware, the backing foam core, etc.) on hand and order more as needed. Each mat board is carefully selected to coordinate with each piece of embroidery, both in size and color. Once I'm ready, I inspect the frames and mats for any blemishes, trim the linen down to size, adhere the mat board to the piece, screw in the spring clips that hold the pieces together, hammer in the hanging hardware, and then do another check for any blemishes. Exhausting, right!?
Next up, I photograph all of the new pieces. I mainly shoot these photos on a DSLR camera and then edit the images in Adobe Photoshop. This usually takes a few afternoons with a few more afternoons spent editing. I do all of the photography in my living room because it has amazing natural light, so I'm able to capture the embroidery details well. I organize all of the uploaded photos by SKU into folders on my desktop and add my favorite high-res images to a special Dropbox folder reserved for press access. I also shoot some photos on my iPhone so I have some Instagram-ready images available.
Now it's time to create product listings so you can shop the items. Happy Cactus Designs is hosted on Shopify, and their interface is pretty easy to work with. I write copy for each piece, upload photos, double-check price and SKU. At this point, each product is saved on Shopify, but marked hidden.
The day or two before launch I'll create a newsletter draft in MailChimp using some of the new product photos and include any important studio news. In the weeks leading up to the particular launch date I've set, I'll tease the new releases on Instagram and encourage followers to subscribe to my newsletter. Newsletter subscribers get first access to a collection before anyone else.
Finally, it's release day! I'll spend the morning publishing all of the previously hidden product listings and then double-check everything once they are live on my website against my master spreadsheet. I sync the new products with my inventory cloud software (Stitch Labs) and add a new slide to my website homepage announcing the new collection. I push send on the newsletter and cross my fingers that people enjoy what I've created!
I've been able to streamline this process over time and now have a checklist that I go through before each launch. It's taken months to truly get this process down.
Want more of my hand embroidery tips? You can find them here.
Want to be the first to hear about Happy Cactus Designs' latest products and promotions? Sign up for our newsletter here.
Happy 2013! This week's doodle is coming to you one day early.

The photo in the background was taken at Santa Elena Canyon in Big Bend National Park. I traveled there over the holidays and it is simply breathtaking!
2012 was a huge year for Happy Cactus Designs and the company grew by leaps and bounds. I'm very excited about what 2013 has in store and can't wait to dive into new projects in 2013!
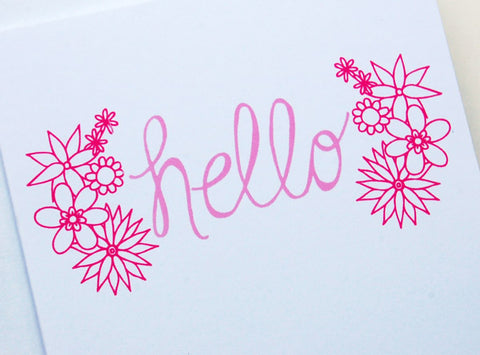
One of my favorite projects of 2012 was this New Year's card I designed for one of my dearest friends.
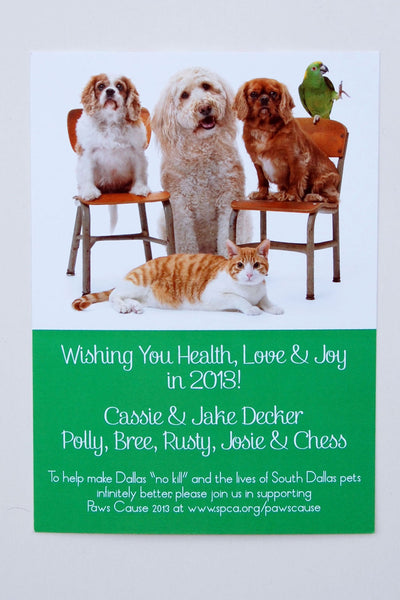
Cassie is deeply involved in raising awareness about animal welfare issues, particularly in the Dallas-Fort Worth area, and contributes to the community by participating in animal rescues, collecting supplies for animals in need, and working with various animal-related organizations. She wanted a New Year's card featuring a photo of her furry family (are they not the cutest?!) and using her favorite colors - pink and green. She also wanted the card to share some information about Paw's Cause, an event she is co-chairing in early spring that benefits the SPCA of Texas.
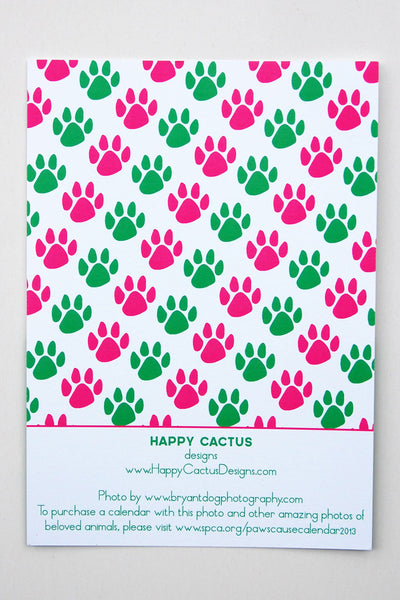
I used a bold green on the front of the 5x7 card to match Josie the parrot's bold feathers. On the back, I created a fun hand drawn paw print pattern in pink and green.

I am wild about this card and how all of the elements came together. I also cannot get over how photogenic Cassie's sweet pets are! To learn more about Paw's Cause, visit the SPCA's site here.
When I launched Happy Cactus Designs, I quickly learned that having high quality product photos is essential. To sell my paper goods online, I need clear and bright photographs of my cards and other products so people can see the details of the design, the colors, and the quality. Photos are also used in my catalog to entice retailers. I'm also frequently submitting photos to press outlets and bloggers. In my opinion, the better the photo, the more likely an editor or blogger is to feature it.

Product photography is not something that can be easily executed. I wish I had a budget for a professional photographer and stylist, but for right now, I'm the jack-of-all-trades and wear the photographer hat from time to time. I have received many compliments about the photographs featured on this site and in the catalog and have been asked by other designers how I do it. Here's some tips and tricks I've learned along the way:
- Invest in a high quality digital camera. I am fortunate to have a fancy Nikon digital SLR camera and a few different lenses. I took a handful of photography classes in college so I have an idea of how to use the settings and take advantage of the camera's features. Some of the more inexpensive point-and-shoot cameras these days can take very high quality photos as well.
- Get a tripod. Trying to shoot a product from different angles can be tricky. I rely on my tripod to keep things steady no matter the angle.
- Do some research! I love perusing catalogs, shopping sites, blogs, etc. to get ideas for styling products and how to shoot my products. Notice what you like and don't like about the product photos you look at. How were the products styled? What are the backdrops? How is the lighting?

- Use natural light. I never use a flash when taking product photos. I usually try to take them outside where the light is best or near a window. It is the most flattering for your photos.
- Creating backdrops doesn't need to be a pricey endeavor. I look for interesting surfaces around my house to photograph my products against. I also frequently use white or colored poster board and rolls of wrapping paper to use as backdrops. I've also had luck with different placemats with interesting textures. I try to steer towards backdrops that are solid or mildly textured so I don't detract from the product. I find accessories around my studio to accompany products and try not to over-do it with the styling.

- Photograph products as the customer or retailer would receive them. You don't want to mislead a customer or editor by photographing a product differently from how it is being sold. For example, all of my products come with white envelopes. While it may look more striking to photograph a card with a colored envelope, I don't want the customer to think that is the option they are purchasing.
- Experiment with a lighting kit. I purchased a kit last year similar to this one that came with light boxes in two different sizes, different backdrops, and two lamps. I don't use it as much as I thought I would, but it's good for getting evenly lit photos.

- Edit. Edit. Edit. I use Photoshop to edit all of my photos. This is almost as time consuming as taking the photos themselves! If you don't know the basics about editing in a program like Photoshop or are looking to improve your skills, search on YouTube or check out the tutorials on Lynda.

I stumbled upon the music of The Lumineers about a month ago and their first full-length album has quickly become my summer soundtrack. Their folk rock sound is pretty infectious - think long ballads, foot stomping, hand clapping...So for this week's doodle, I took some lyrics from their song "Ho Hey" and worked on a little hand lettering. The background is a picture from the magical Cannon Beach, Oregon, that I took last summer. Here's the original music video if you are looking for a little blog reading soundtrack.


We had a great time this past Saturday at our first Austin Flea. We loved meeting lots of other local Austin artists, jewelers, and crafters, and appreciated all of the shoppers who came out on a hot July day!


We're busy bees running lots of last minute errands for the Stationery Show and packing everything up! With so many new designs debuting at NSS, we spent a lot of time photography products. Here's a few close up shots!