October 06, 2016
I thought it'd be fun to pull back the curtain a bit and share the steps it takes to launch a new collection of hand embroidery. I released a bunch of new work last week, including brand new pins and pillows. I'll share more about those new products and how they came to be in a future post, but for now wanted to write about releasing a new artwork collection in particular.
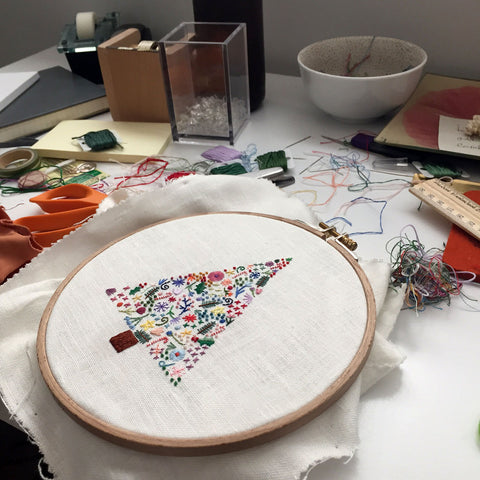
I spent a lot of the summer stitching away and creating new pieces (Happy Cactus is my full-time job), so I built up a stack of new embroidered works and kept them tucked away in a box. I released a handful of these new works just after Labor Day, knowing that I wanted to release another batch at the end of September.

Once I have a collection release date in mind (in this case, September 30), I create a few additional designs if I want to, develop a master spreadsheet of all of the pieces (with design notes, dimensions, price, etc.), and then begin preparing to frame the pieces.
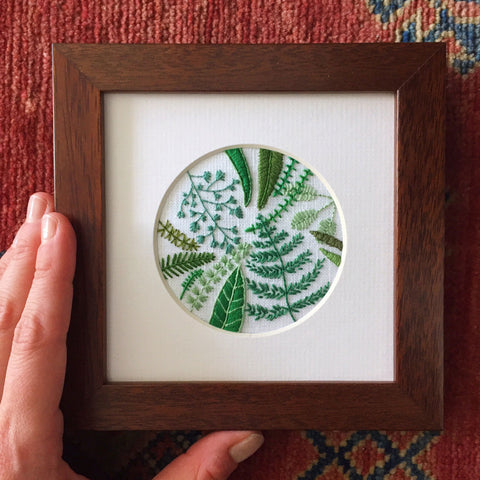
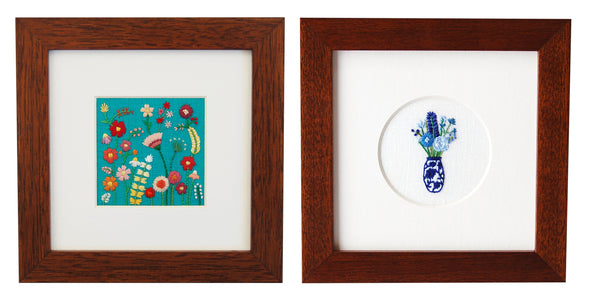
Framing is a time intensive process. First, I make sure that I have enough frames, mat boards, and related accessories (the hardware, the backing foam core, etc.) on hand and order more as needed. Each mat board is carefully selected to coordinate with each piece of embroidery, both in size and color. Once I'm ready, I inspect the frames and mats for any blemishes, trim the linen down to size, adhere the mat board to the piece, screw in the spring clips that hold the pieces together, hammer in the hanging hardware, and then do another check for any blemishes. Exhausting, right!?

Next up, I photograph all of the new pieces. I mainly shoot these photos on a DSLR camera and then edit the images in Adobe Photoshop. This usually takes a few afternoons with a few more afternoons spent editing. I do all of the photography in my living room because it has amazing natural light, so I'm able to capture the embroidery details well. I organize all of the uploaded photos by SKU into folders on my desktop and add my favorite high-res images to a special Dropbox folder reserved for press access. I also shoot some photos on my iPhone so I have some Instagram-ready images available.
Now it's time to create product listings so you can shop the items. Happy Cactus Designs is hosted on Shopify, and their interface is pretty easy to work with. I write copy for each piece, upload photos, double-check price and SKU. At this point, each product is saved on Shopify, but marked hidden.
The day or two before launch I'll create a newsletter draft in MailChimp using some of the new product photos and include any important studio news. In the weeks leading up to the particular launch date I've set, I'll tease the new releases on Instagram and encourage followers to subscribe to my newsletter. Newsletter subscribers get first access to a collection before anyone else.

Finally, it's release day! I'll spend the morning publishing all of the previously hidden product listings and then double-check everything once they are live on my website against my master spreadsheet. I sync the new products with my inventory cloud software (Stitch Labs) and add a new slide to my website homepage announcing the new collection. I push send on the newsletter and cross my fingers that people enjoy what I've created!
I've been able to streamline this process over time and now have a checklist that I go through before each launch. It's taken months to truly get this process down.
Want more of my hand embroidery tips? You can find them here.
Want to be the first to hear about Happy Cactus Designs' latest products and promotions? Sign up for our newsletter here.

