Summer is in full swing and when I'm not exploring the great outdoors, I'm at my home studio juggling a variety of hand embroidery projects. I always try to spend some time during the summertime building up inventory for the busy holiday season and experimenting with new ideas and materials. Here are some peeks at what I've been working on.
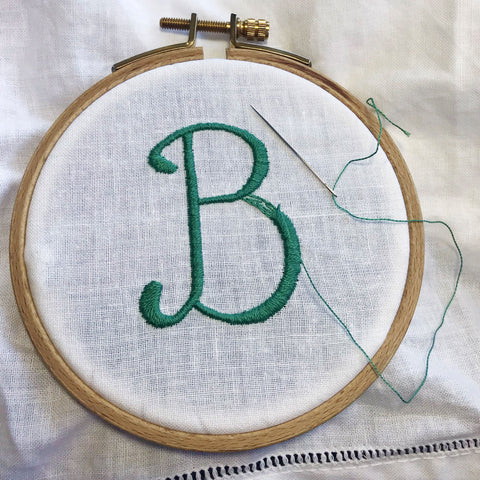
Stitching a monogram
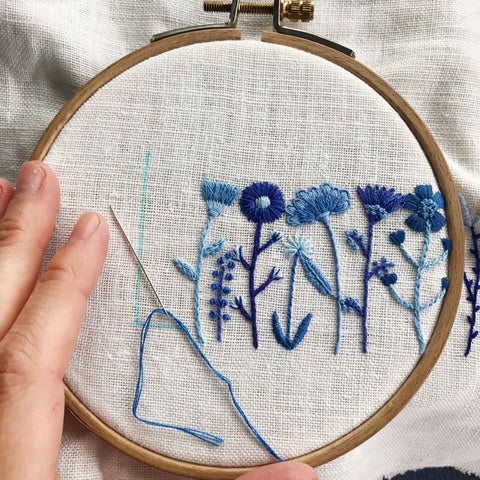
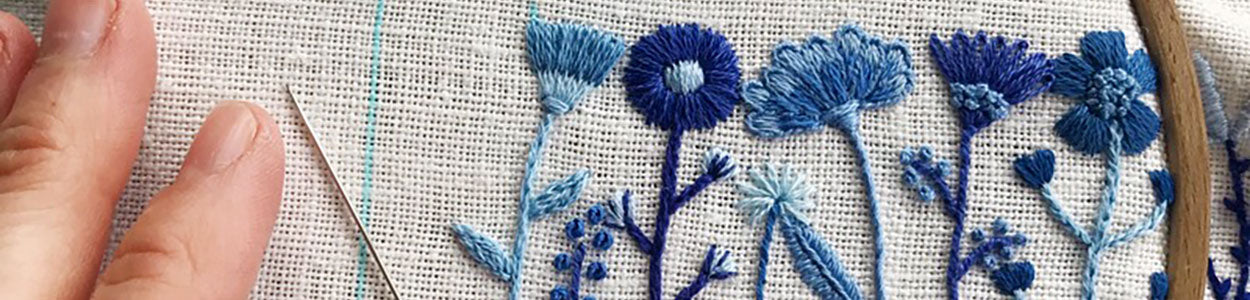
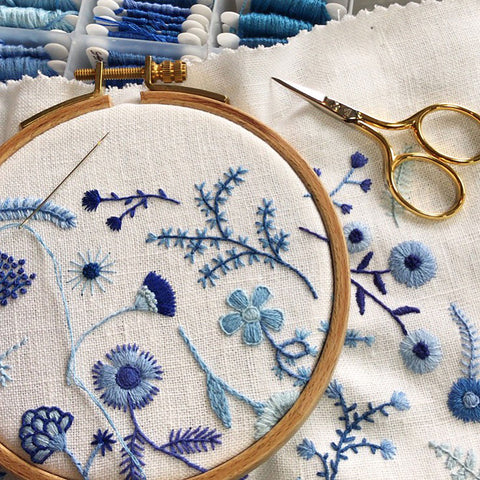
Working on a blue floral piece I've been stitching on and off for months!
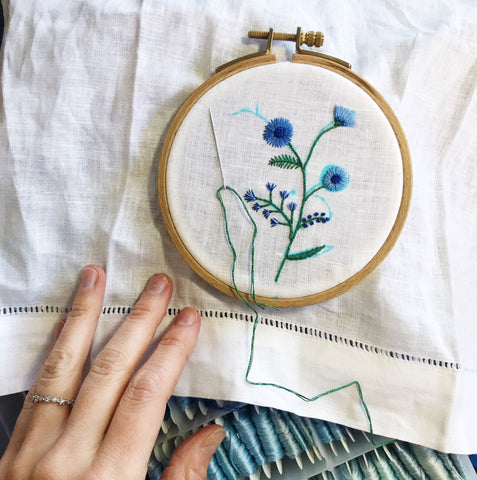
Adding a floral motif to a linen guest towel. You can find my favorite water soluble fabric pen here.
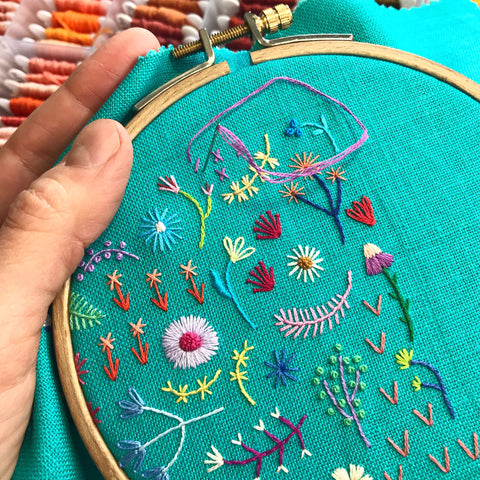
Rainbow flowers on turquoise linen
Want to be the first to hear about Happy Cactus Designs' latest products and promotions? Sign up for our newsletter here.

I shared some thoughts on Instagram last week about the time and patience that hand embroidery requires. I started a new rainbow flowers piece and it took about 25 minutes (or one episode of Younger!) to complete 5 small motifs.
Embroidery is a slow and meditative process. It doesn’t bother me that it takes a long time; on the contrary, the slowness is something I’ve really grown to really appreciate - especially in today’s world where we want everything faster and instantaneously.
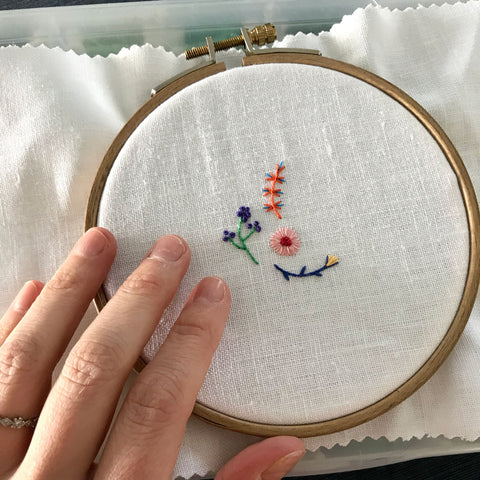
And a little more done!
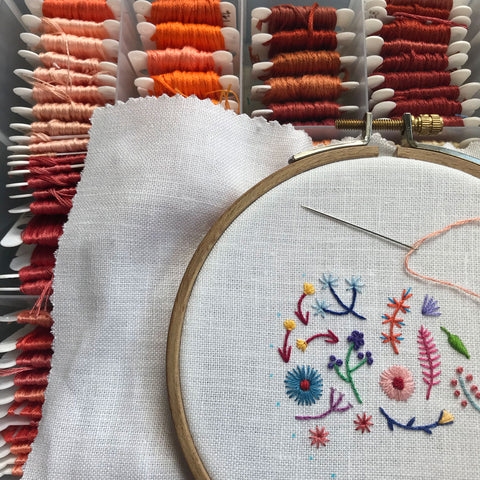
I typically do not track my time, but was curious just how long it was taking to create these tiny little flowers. I use a mix of simple and more complex stitches, I switch colors often, and I add intricate little details here and there. Find similar rainbow flower embroidered designs in my shop here.

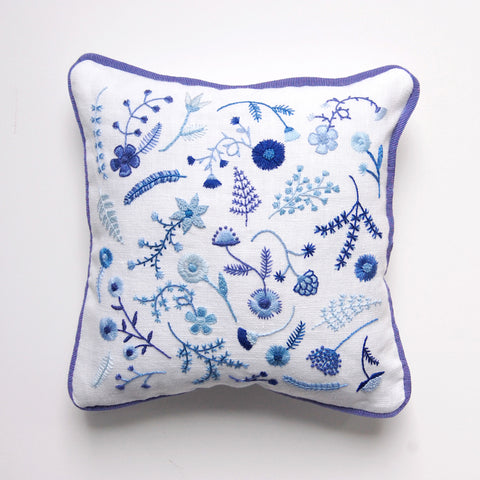
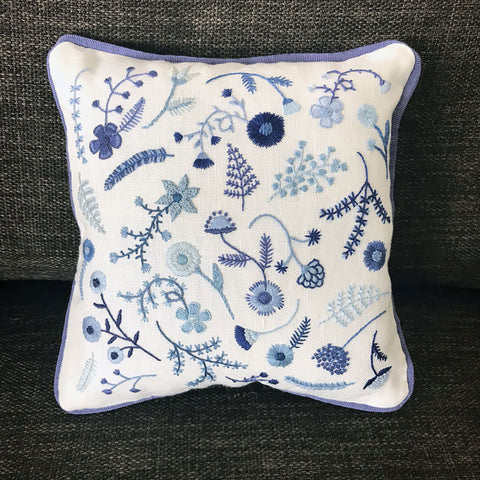
A different piece that took many months to complete. It became a pillow.
Want to be the first to hear about Happy Cactus Designs' latest products and promotions? Sign up for our newsletter here.
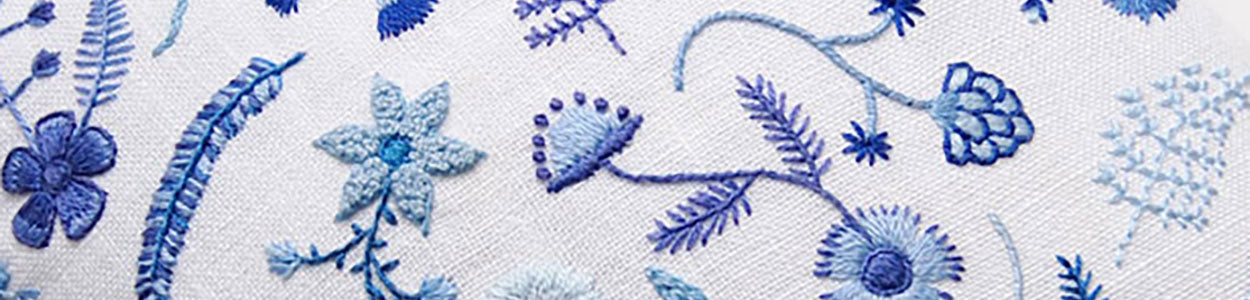
If I could only pick one color combination to use for the rest of my life, it would easily be blue and white. I'm definitely team #blueandwhiteforever. One of my favorite pillows that I've ever created is this one featuring floral motifs in different shades of blue (click here for more details about this pillow in the shop). The pillow itself is about 8 inches x 8 inches - a perfect accent for your living room furniture.
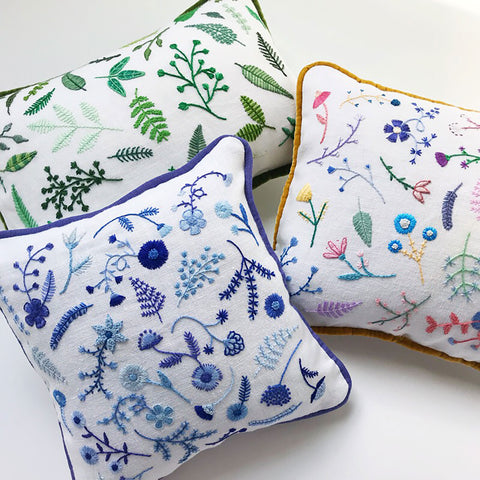
Creating pillows is quite an ambitious process for me. First, I spend months stitching the design, figuring out how I want the piece to look and what size I want it to be.
Then I source trim that coordinates with the embroidery. In this case, I found the perfect periwinkle blue grosgrain trim. I then work with a wonderful local upholstery partner here in Durango, CO, who expertly works her magic to make my canvas into a pillow.

This one-of-a-kind pillow is available in the shop.
Want to be the first to hear about Happy Cactus Designs' latest products and promotions? Sign up for our newsletter here.
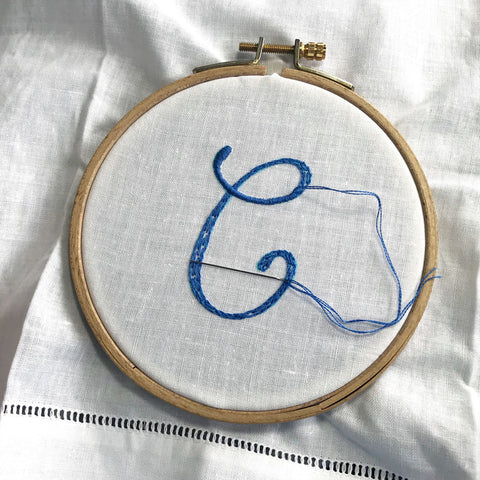
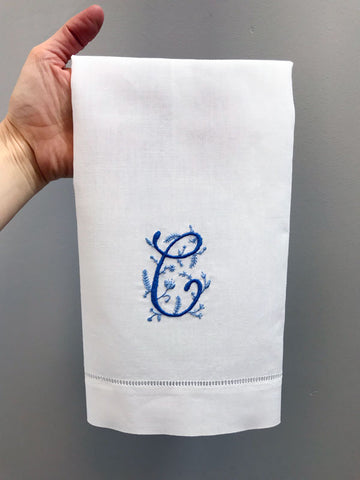
Recently, I got my hands on some linen guest towels and decided to do a bit of experimentation ahead of Mother’s Day. I thought it would be fun to stitch a monogram onto a towel as a gift for my mom. I’ve create a few hand embroidered monograms in the past, but haven’t stitched one in a long time as I don’t really do much personalized work.
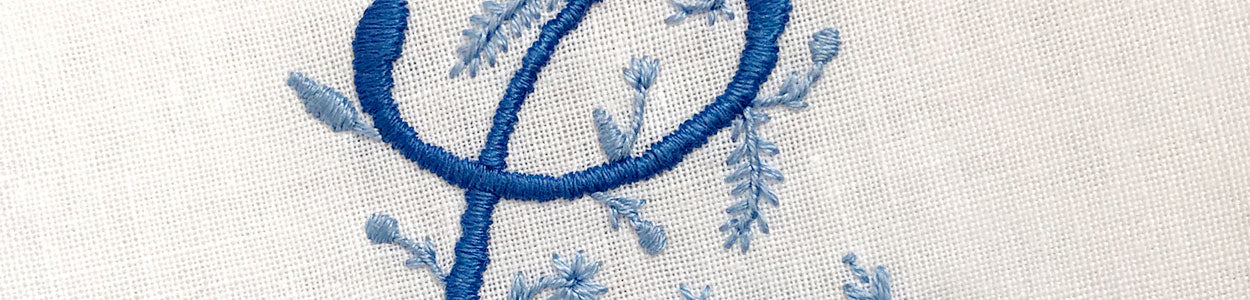
I sketched out a cursive “C” on paper to figure out the shape I wanted, then drew it freehand onto the towel using a water soluble fabric pen. I knew I wanted to use shades of blue and to incorporate some florals into the letter design.
Once I finished stitching the “C,” I added some tiny florals in a lighter shade around the letter. I didn’t plan out the flowers ahead of time, but just stitched them as I saw fit.
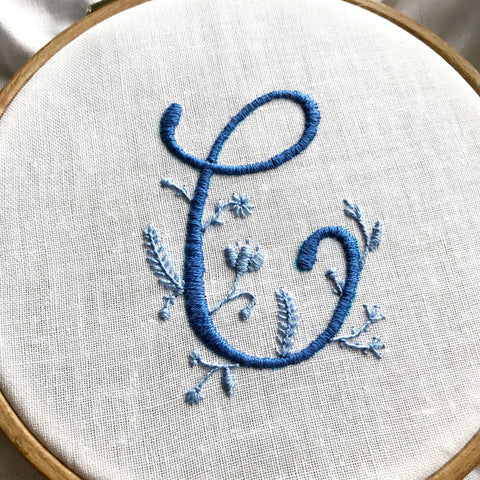
To finish the piece, I wet the towel to remove the fabric pen marks, then pressed the towel with an iron. Voilà! I’m so happy with how it turned out and am thinking about creating some more for my shop...stay tuned!
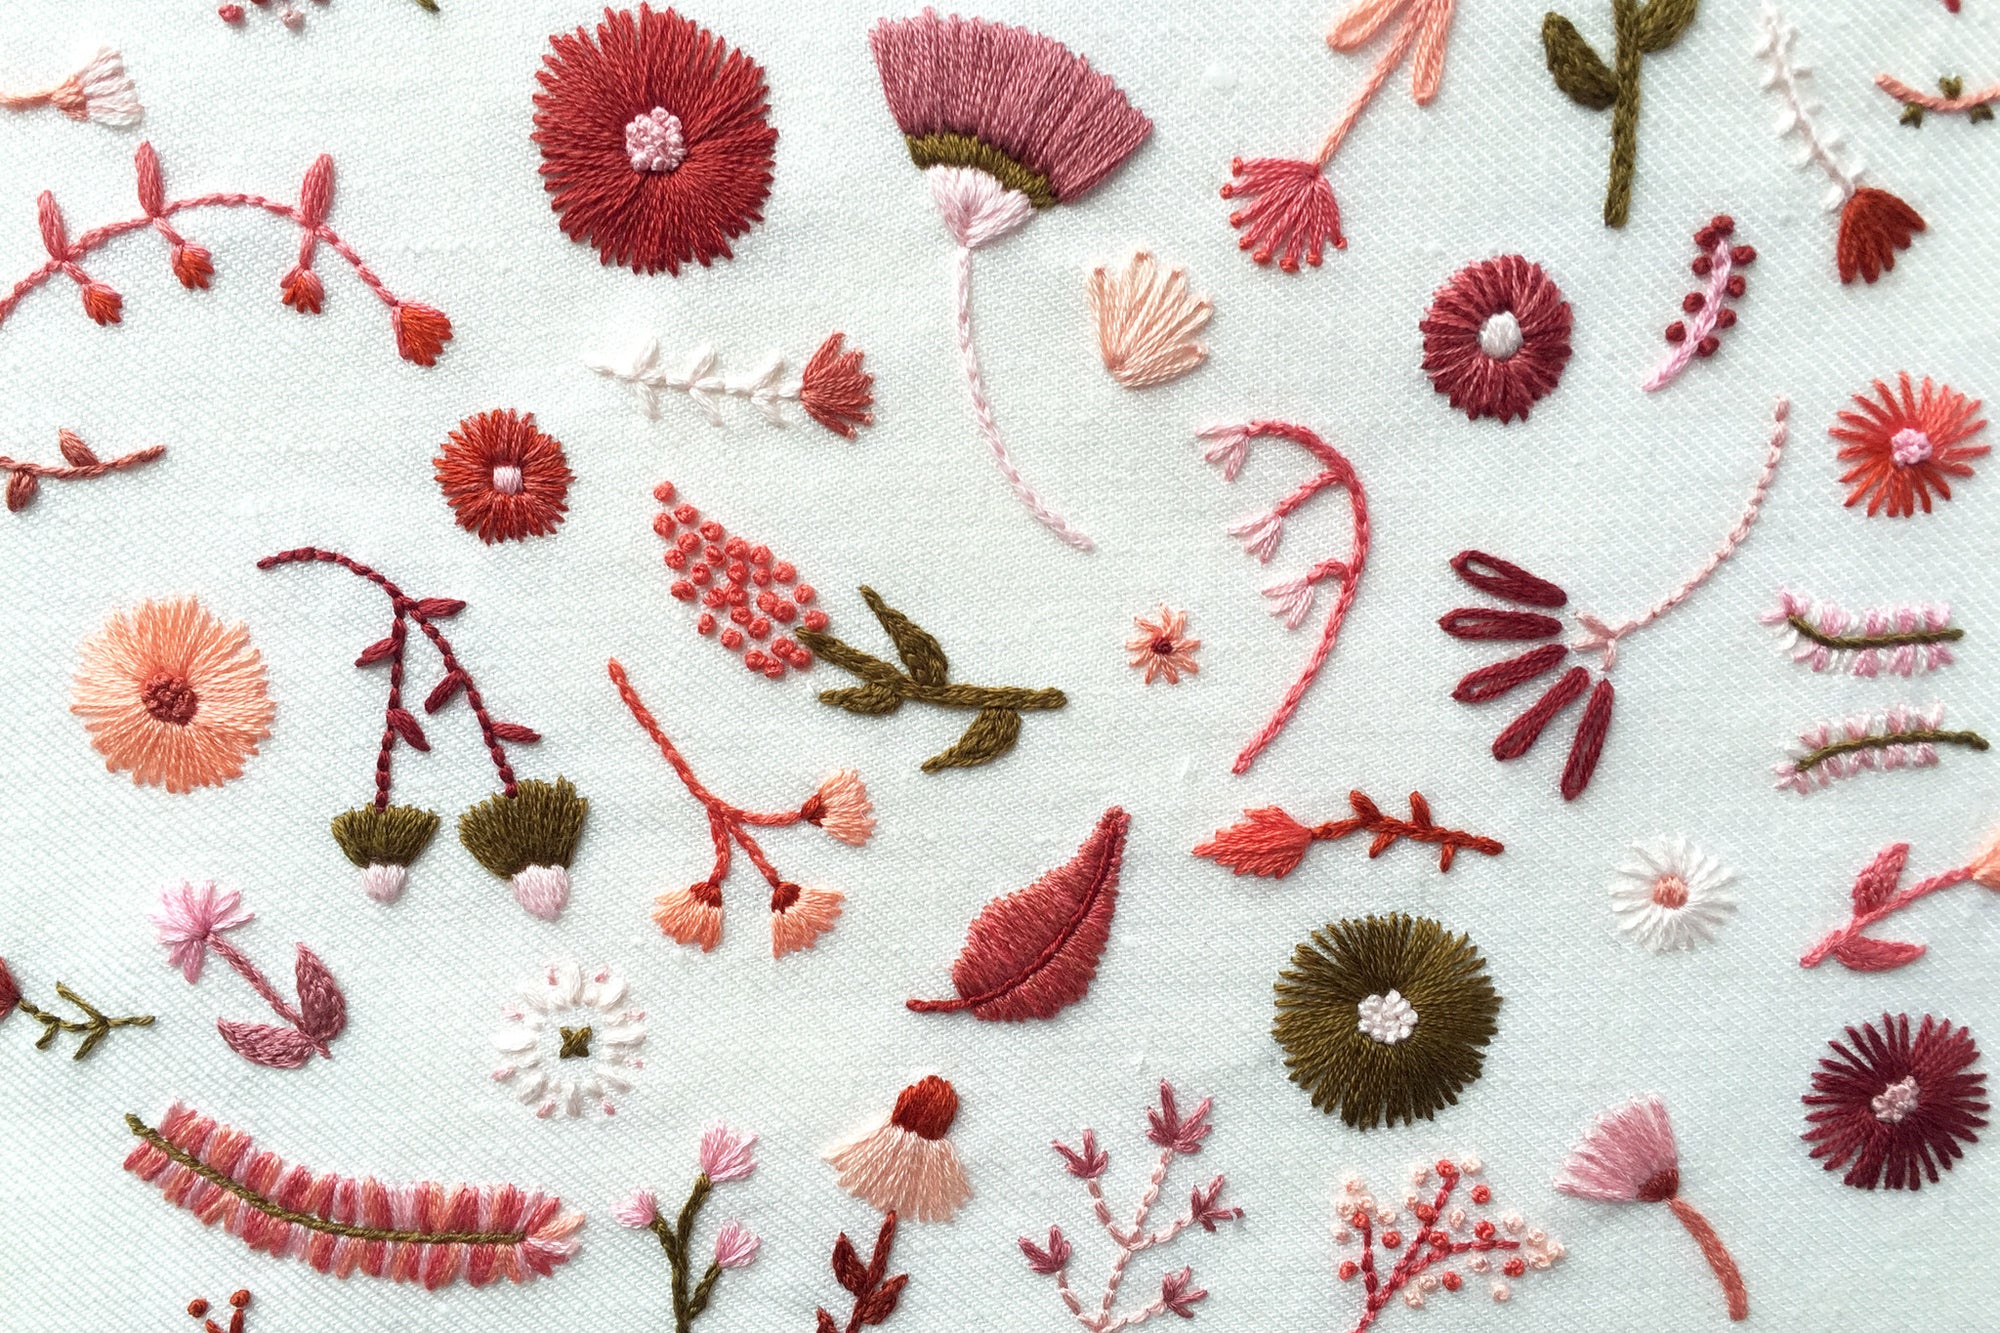
The April issue of House Beautiful that features my embroidery is on newsstands now! I hope you've had a chance to check it out. I wanted to share more details about the piece I was commissioned to create!
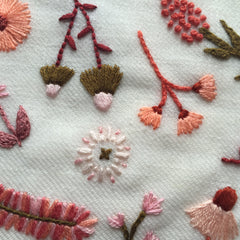
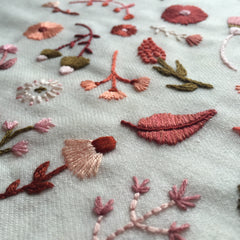
I worked with the lovely editors on the design idea and the color palette. The piece itself is a bit larger than the actual magazine photograph - about 8" x 9.5". This is a larger scale than I usually stitch, so I adjusted my flower sizes accordingly. While a typical flower of mine might be an inch (like you see in this piece), the flowers I stitched for the magazine were about 3 inches tall.

I loved this color palette. It reminds me a lot of the Desert Southwest - pinks, dusty roses, peaches, rusts, copper, and greenish browns. I also stitched "Some New Threads," though a font was ultimately used in the magazine spread. I worked on a cream colored linen twill that held the stitches really well.
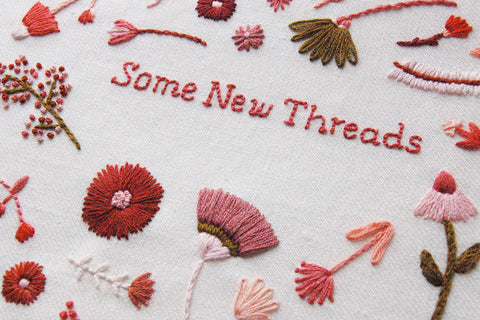
The entire piece took an estimated 30+ hours to stitch. I lost count after about hour 30! I stitched the piece over a four day period. This was an amazing project to work on and I am so grateful to the editors of House Beautiful for entrusting me to create something beautiful for their pages!
Want to be the first to hear about Happy Cactus Designs' latest products and promotions? Sign up for our newsletter here.
I'm in the midst of designing some new paper goods for release later this spring and thought I'd share some of inspiration behind these new designs.
Black and White: If you've seen my line, you know I LOVE color, but I've also been experimenting with black and white and how to make a big impact with a limited color palette. I love the boldness of this KAUFMANFRANCO printed skirt.

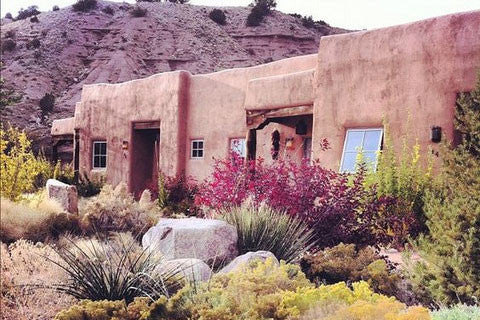
The Desert: Living in Southwest Colorado, I am just a short drive from desert climates. I love the colors of the desert and the mix of deep rust oranges with light pinks, cactus greens, and sandy nude hues.

Image via Ojo Caliente
Navajo Rugs: I've been down a rabbit hole on Pinterest looking at antique Navajo rugs. The patterns and colors are so inspiring.

Image via Rahmanan Tumblr
Want to be the first to hear about Happy Cactus Designs' latest products and promotions? Sign up for our newsletter here.
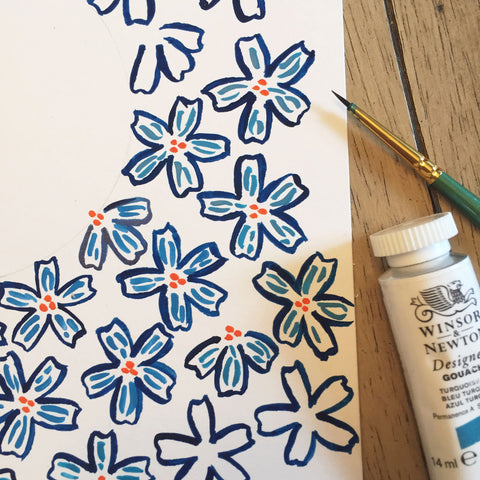
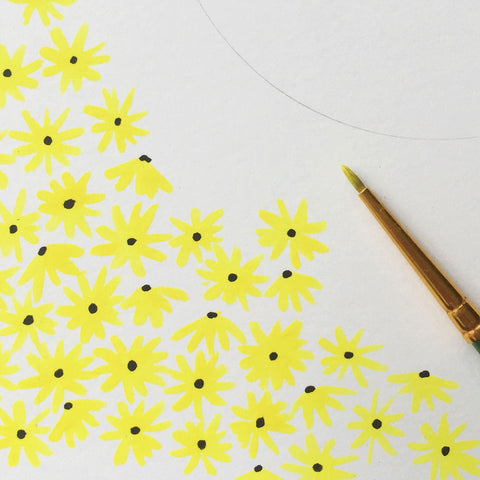
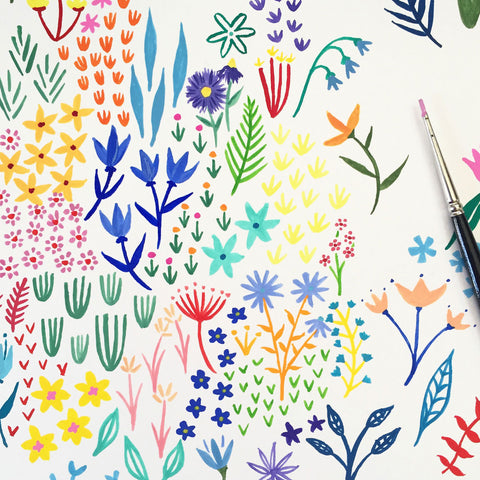
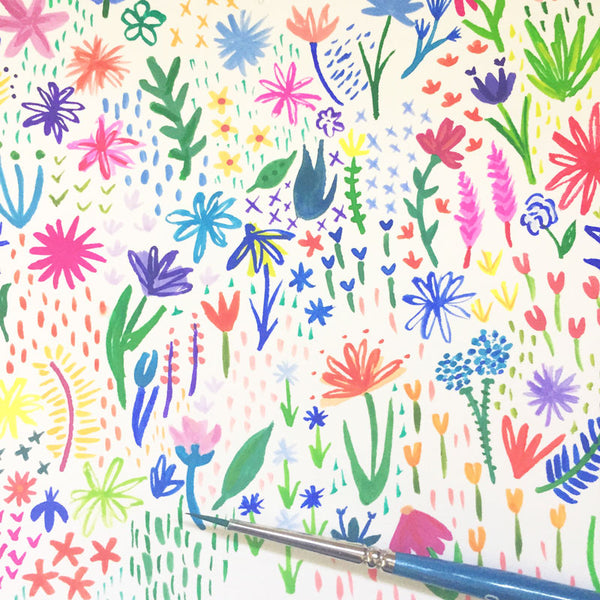
My newest cards all feature original hand paintings by yours truly. I loved experimenting more with gouache and creating various color palettes and floral patterns. Here are a few behind-the-scenes snaps of the designs while they were being painted. You can find all of the new cards in the shop here.
Want to be the first to hear about Happy Cactus Designs' latest products and promotions? Sign up for our newsletter here.
When I first launched my paper goods collection, I primarily worked with ink and all of my cards were based on my own hand illustrations. This year I have begun to incorporate more painting into my work (read more about it here) and have really enjoyed the process of conceptualizing new design ideas that will be painted.

My preferred medium is gouache, a type of paint that is kind of like a cross between watercolor and acrylic. My paintings are pretty free flow - I don't plan out what I'm going to paint and just see where it takes me. With this new collection of cards, I tended to gravitate towards bright rainbow hues and lots of florals. You can shop the new collection here.


If you've been keeping up with what has been happening over at Happy Cactus lately, then you are aware that I'm preparing to launch a collection of one-of-a-kind hand embroidered artwork. You can read some more background details via this earlier blog post.
Launching a new product category takes an incredible amount of time and effort. Here's a peek behind-the-scenes at some of the stages I've gone through to prep these works for sale.

Stitching: First, I have been building an inventory of hand embroidered pieces that I will be making available for sale. Each piece takes a number of hours to complete (it obviously varies by size and detail) and I usually work on one piece over a number of days before moving onto the next one. The pieces vary in size from about 1 inch to 5 inches.
Market Research: I've done quite a bit of market research to see what is out there in the market along the lines of what I'm doing. What is being offered in the "wall art" category? I haven't limited my research exclusively to embroidery; rather, I have been looking at all sorts of textile and fiber art, fine art, and lower end pieces. There is quite a range!
Making Decisions: I knew from the get-go that I wanted to sell my pieces of embroidery framed and with custom mat boards that coordinate with and complement the linen and embroidery work. I spent a lot of time sourcing samples of frames and mats and playing around with ideas. Quality is extremely important to me, and I am so pleased to be working with a wonderful American vendor that offers extremely well made frames and beautiful mat boards.
Product Photography and Descriptions: As I get closer to the launch of the collection, I have been diligently working on product photography that shows off the pieces in their best light. Additionally, I've been working on product descriptions and other collateral.
To be the first to hear when these pieces are up for sale, sign up for the Happy Cactus Designs newsletter here. Follow along on Instagram (@happycactusdesigns) where I often share works in progress (#happycactusembroidery).
The majority of my cards begin as black ink drawings. As I've mentioned before, I digitize my drawings and then use various computer programs (Adobe Illustrator and Photoshop are my preferred favorites) to layout card designs and color the work. For the brand new spring and summer collection of cards, I developed a cohesive color palette that I used throughout the designs (with the exception of the hand-painted gouache cards - more on those here).
I sought out bright, bold colors that were warm, optimistic, and cheery - three words I love to associate with the warmer seasons. Here's the palette I worked with!

For stationery designers, the bulk of design work for seasonal cards happens six to nine months before the actual holiday. In other words, I spent a lot of March and April designing Christmas cards! Here's a peek behind the scenes of the creative process I took to design the Joy Dotted Ornament card.

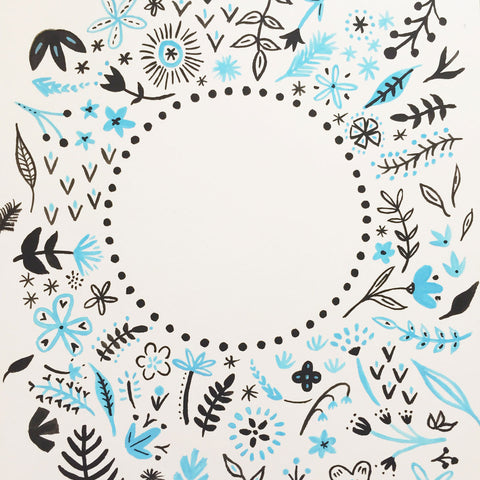
Today I thought I'd share some behind-the-scenes images of my new Mother's Day card since the holiday is just a week away! The idea for this card was conceived during a major creative session last fall. I knew I wanted to do a card with an all-over floral design, not just a repeat. It started as a light pencil sketch on drawing paper, then I went over the design in pen. Like the majority of my work, the design developed as I drew it - I didn't have a set plan for what the "blooms" would look like.

I left space in the center for a sentiment, and eventually decided that this feminine design would be perfect for a Mother's Day card. The size of the space worked perfectly to pen "You're the Best Mom Ever."

After scanning my design and doing some minor clean up, I decided upon a purple color palette, using a lighter lavender shade balanced by a darker purple for the outline. And after a lot of focused work, the final product!


